Thick, creamy, tangy and delicious, this cashew coconut Greek yogurt will be a staple in your household. Made overnight in the instant pot, this plant-based yogurt is easy to make and so much better than store bought.
I’ve tried at least 10 different dairy-free yogurts, and they just aren’t great. Thinking homemade might be better, I then tried a handful of coconut cream yogurt recipes with mixed success, but was always disappointed with how the cream and coconut water would separate. So I moved on to cashew milk yogurt, and thought the texture and flavour weren’t quite cream enough. So finally a lightbulb went off and I decided see if the creaminess of the coconut cream mixed with the structure and thickness of cashew milk would work together. It did!
I’m not going to lie, this yogurt isn’t fast food by any stretch of the imagination. You need to start your batch two to three days ahead of when you need it, so plan accordingly.
Supplies
- Raw cashews (2 cups)
- Can organic coconut milk
- Instant pot
- Food thermometer
- Spatula
- Glass storage jars
Slow going, but easy
The first step is to soak your cashews. For a 6 cup batch, begin by soaking two cups of cashews in enough water to fully cover them (about 2-3 cups). Soak for 8-12 hours, or overnight. (Some recipes say 2 hours is sufficient, but it’s really not if you want super smooth yogurt). Soaking nuts is reported to improve nutrient availability, removes phytic acid, and makes them more digestible. But way more important than that, it makes it easier to puree to a smooth paste!

Once the cashews have soaked, rinse them several times. Place the soaked cashews in a high speed blender or food processor with 2 cups of fresh water and puree on high for several minutes. After the cashews are completely smooth, add a can of coconut milk to the blender and mix again. I personally like the thickness of this yogurt with the full can, but if you want your greek yogurt to be ultra-thick, you can decant off about half of the water from can. I’ve tried this recipe with just the coconut cream portion of the can, and it was too thick for my taste.
The boil stage
The next stage of yogurt making is the “boil” stage. In traditional yogurt, this step is used to kill competing bacteria, and the whey proteins will denature and coagulate to enhance the viscosity and texture of the final product. I’ve read a few blog posts where they say this step isn’t necessary with plant based milks, but I would definitely disagree. Nut milks will denature at similar temperatures to dairy milk, around 85 °C (Devnani, 2020), and coconut milk is a little higher at approximately 100°C. This process helps create those gelatinous strands of protein that give yogurt it’s silky, creamy semi-solid consistency. Besides, that eliminating any opportunistic (i.e. bad) bacteria and fungus that might ruin your batch is critical. So please DO this step! My preference is to use the Instant Pot’s simmer feature (as opposed to the BOIL function in the yogurt setting), as it gives me more control over the temperature and duration of heating.
Once you’ve reached around 87 °C, remove the inner pot and allow to cool. I like to speed this process up by placing the inner pot in a sink filled with cool water. Cool until the temperature is in the low to mid 40’s °C. It will feel warm to touch but not hot. Take a small amount of the cooled cashew-coconut milk (about 1/4 cup) and place in a separate, clean bowl. Add your yogurt starter, either store-bought powder, or 1/4 cup of plain dairy or non-dairy yogurt (unpasteurized!) and whisk together until smooth. Return the milk and starter mixture to the pot, and add 3 tablespoons of maple syrup. Stir well until completely combined. This will act as an essential food source for the beneficial bacteria. Please do not use honey, it has anti-microbial properties that may stunt or kill your beneficial yogurt bacteria.

The culture stage
Return the inner pot to the instant pot, and set the yogurt feature. Personally, I like to culture my yogurt for 16 to 18 hours, but I recommend that you experiment to find your perfect amount of yogurt-y tang. Twelve hours or less is very milk in flavour, although technically anything longer than about 5 hours is a “yogurt”. Anything beyond 24 hours once is was lip-smackingly tangy. Too tart for my taste, but you do you!
Once your timer is up, sweeten to taste (I like about 3 tablespoons of maple syrup per batch), and add 1-2 tsp of vanilla if desired. Both of these are completely optional, especially if you plan to use your yogurt for savory food dishes. Store in the refrigerator in sterilized wide-mouth jars, typically they are good for about two weeks. Remember to save 1/4 cup to culture your next batch, although this is best done within the first 7 days.
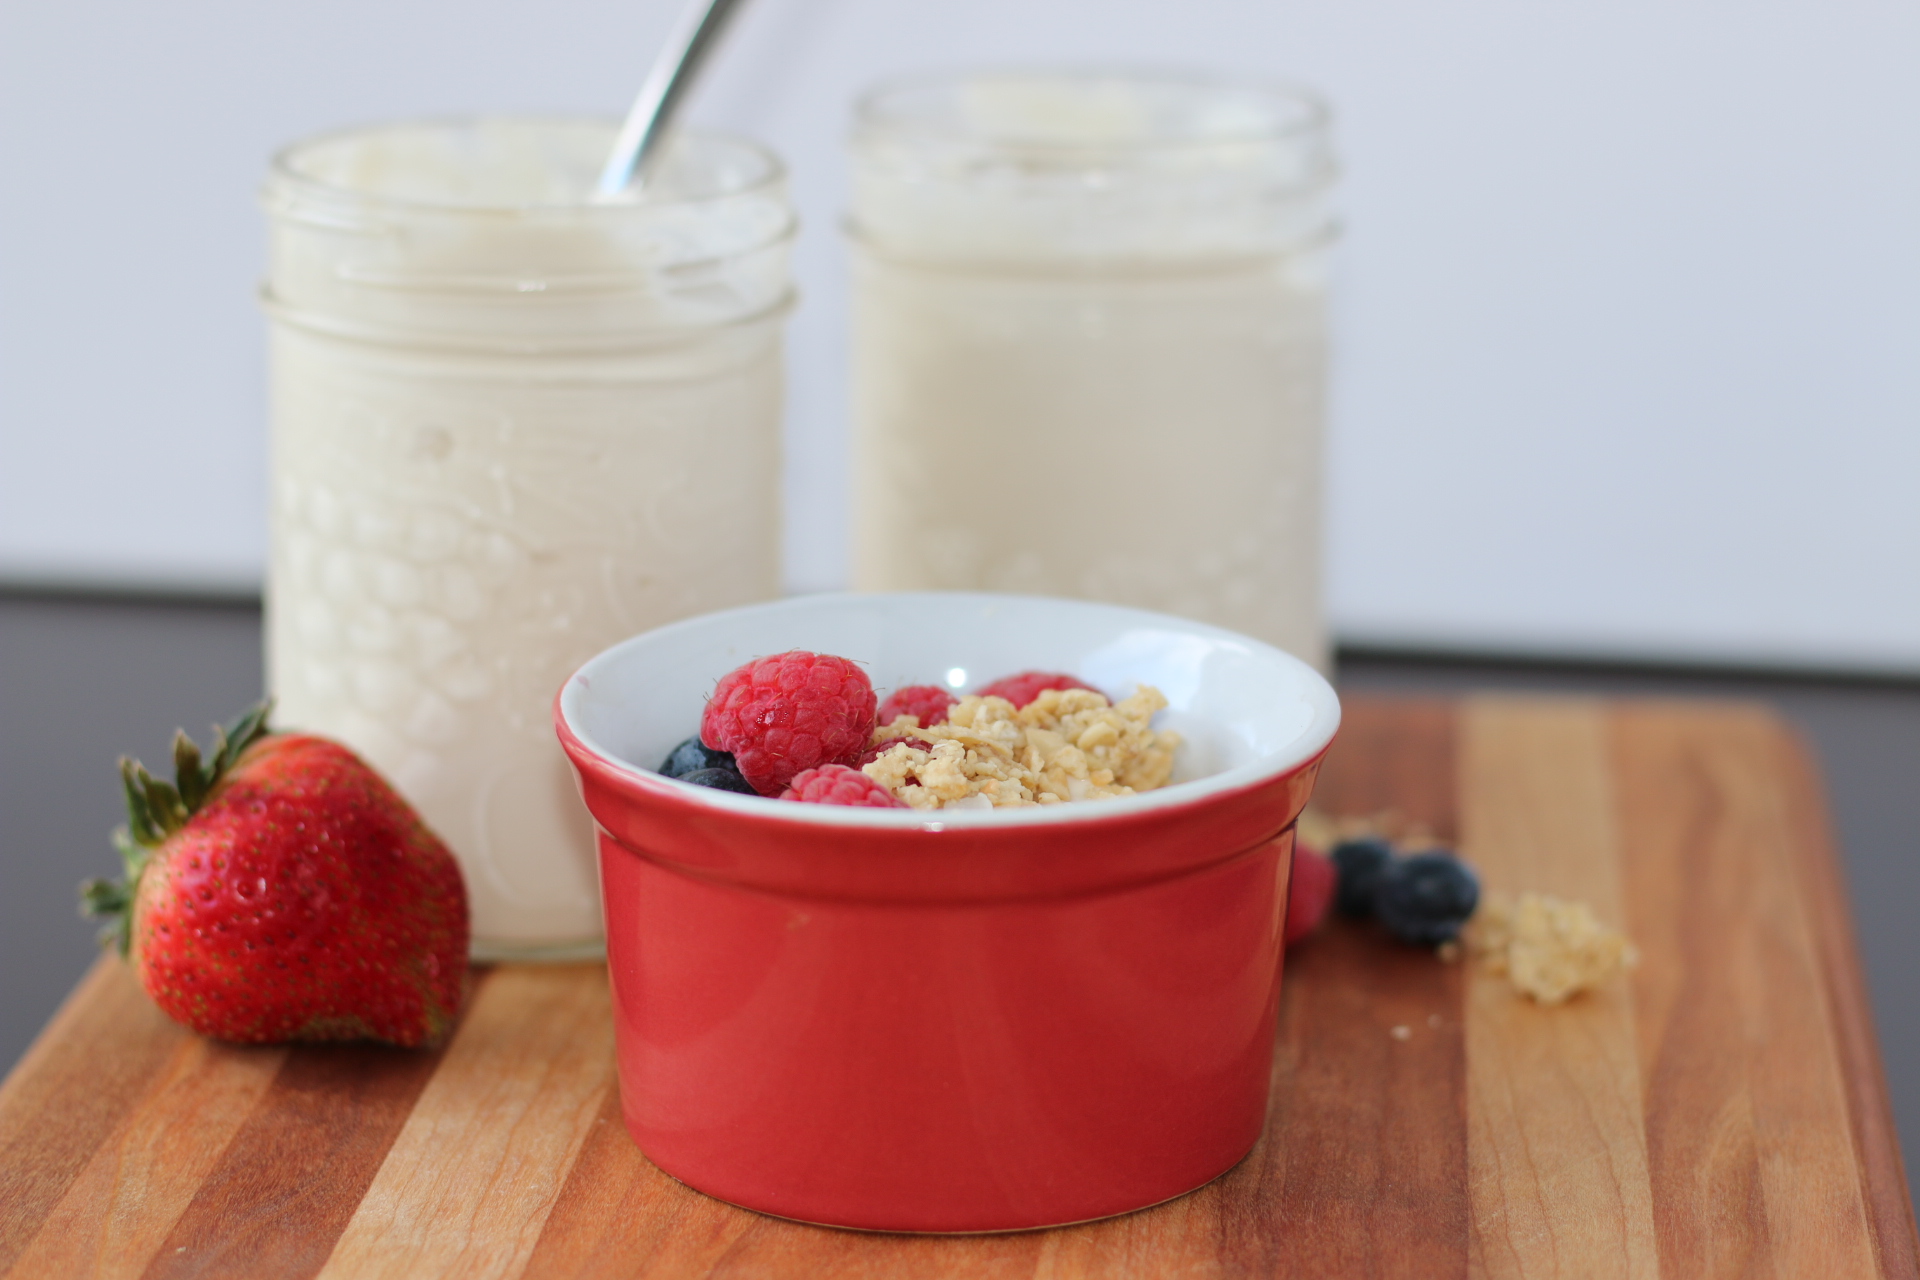
Enjoy with fresh fruit, some homemade muesli, or in your favourite smoothie.
It’s all made with love!

Cashew Coconut Greek Yogurt
Equipment
- 1 Pressure cooker with yogurt function
- 1 Digital thermometer (recommended)
Ingredients
- 2 cups cashews
- 1 can coconut milk
- ½ cup maple syrup, divided
- 3 tsp Vanilla
- ¼ cup plain, unpasturized yogurt (dairy or non-dairy) Or use yogurt starter of choice, following the package instructions
Instructions
- Soak cashews in water 8-12 hours or overnight.
- Rinse well, and place in a high speed blender with 2 cups fresh water. Blend on high speed for 1 minute or until completely smooth.
- Add full can of coconut milk (including the coconut water portion) to the blender and mix well.
- Add contents of blender to the instant pot and turn on the simmer feature. Stirring constantly, continue to heat until the temperature reaches 87°C.
- Remove the inner pot and allow yogurt mixture to cool to 40°C.
- Once cooled, removed approximately ¼ cup of the yogurt mixture and place in a clean bowl. Mix in ¼ cup plain, unpasturized yogurt (or starter culture) and 3 Tbsp to ¼ cup maple syrup. Whisk well to mix completely.
- Add yogurt culture mixture back into main pot and mix well. Place the inner pot back into the instant pot, and close the lid. Set the lid to "sealing".
- Set instant pot yogurt function for 18 hours, or to a culture length of your choosing. Five hours is the minimum time needed.
- Once the culturing has completed, open the lid and give the yogurt a stir. Add sweetener and flavour to taste, if desired (¼ cup maple syrup and 2 tsp vanilla is recommended) and stir well to combine.
- Store in sterilized jars or containers of your choosing. The yogurt will keep in the fridge for up to 2 weeks.


